To add a shade to your TaHoma switch using the TaHoma by Somfy app, please follow the instructions below. Please note that the shade must have limits set for it to be added. If limits are not set, please contact your dealer or installer.
- Open the TaHoma by Somfy app and select “Add a device”
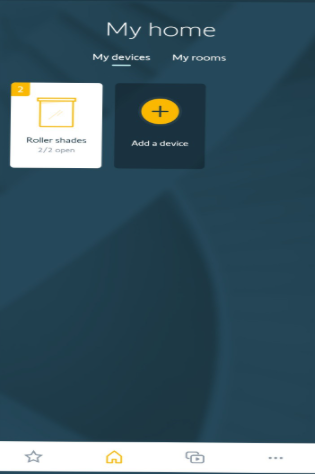
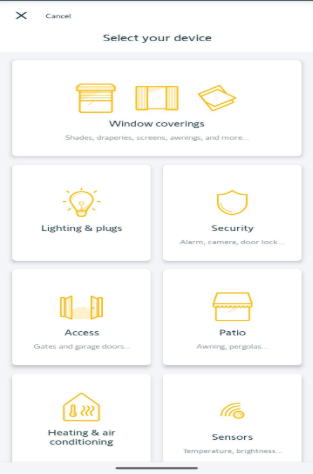
- Select “Window coverings”
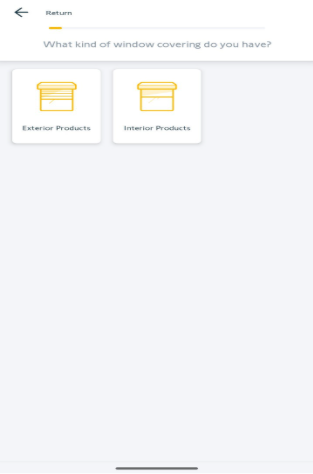
- Select whether the shade is exterior or interior
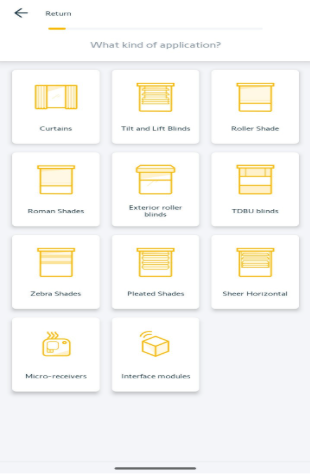
- Select the style of shade
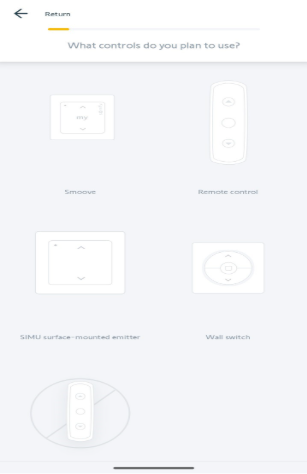
- Select the remote that you will be using or select “No remote in the control system” to add the remote later
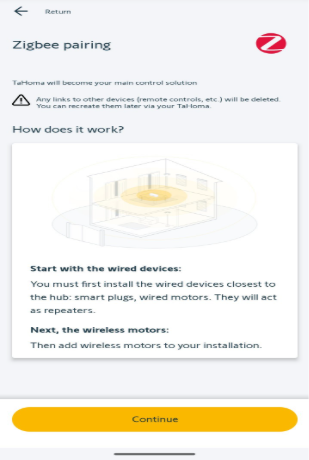
- Read the notifications on proper procedure for Zigbee installations, then select “Continue”
- Scan the QR code for the shade. The QR code for the shade can be found on the antenna or on the hembar/bottomrail of the shade
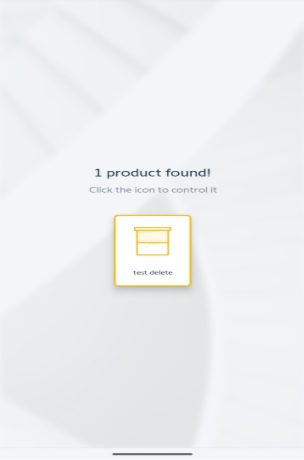
- Once the shade has been discovered, select the shade icon
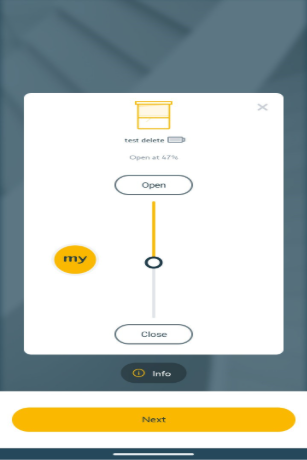
- Test the shade by using the “Open” and “Close” buttons or by using the slider to move the shade, then click “Next”
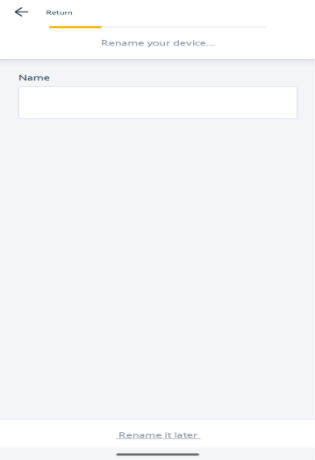
- Rename the device by clicking on the text box. Once you have entered the name for the shade, click the check mark button or return key
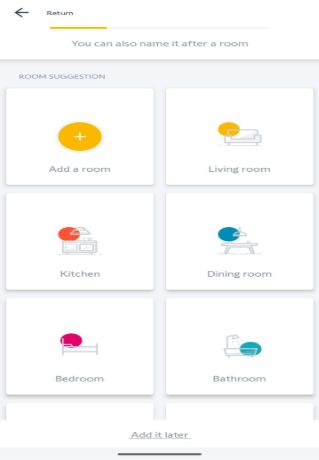
- Add the shade to a room, select “Add a room” to create a new room or select “Add it later” at the bottom of the screen to create a room later
For additional support:
Email: motorization.support@springswindowfashions.com, responses could take up to 24 hours
Customer Service Team: 1-800-221-635
Was this article helpful?
That’s Great!
Thank you for your feedback
Sorry! We couldn't be helpful
Thank you for your feedback
Feedback sent
We appreciate your effort and will try to fix the article